One of my New Year’s resolutions is participating in a Buy Nothing challenge. I’ll share more about that soon, but the idea is to beg, borrow, or make things I need instead of purchasing them.
An opportunity came up when I was browsing Amazon for weighted stuffed animals. My son was going through a phase where he struggled to fall and stay asleep. Perhaps it was a sensory issue, and he needed a lovey to help. Unfortunately, these toys aren’t cheap. Fortunately, they are easy to make at home. 🙂
How to make a no-cost weighted stuffed animal:
You’ll need:
- A stuffed animal large enough to hold a bag of rice
- Sealed bag of dry goods (e.g. rice, beans, etc.)
- Sewing needle
- Sewing thread
- Seam ripper
- Brooklyn 99 reruns to keep you company while you slave away. If anyone in the household bothers you during this time, just scream at them that you’re busy homemaking.
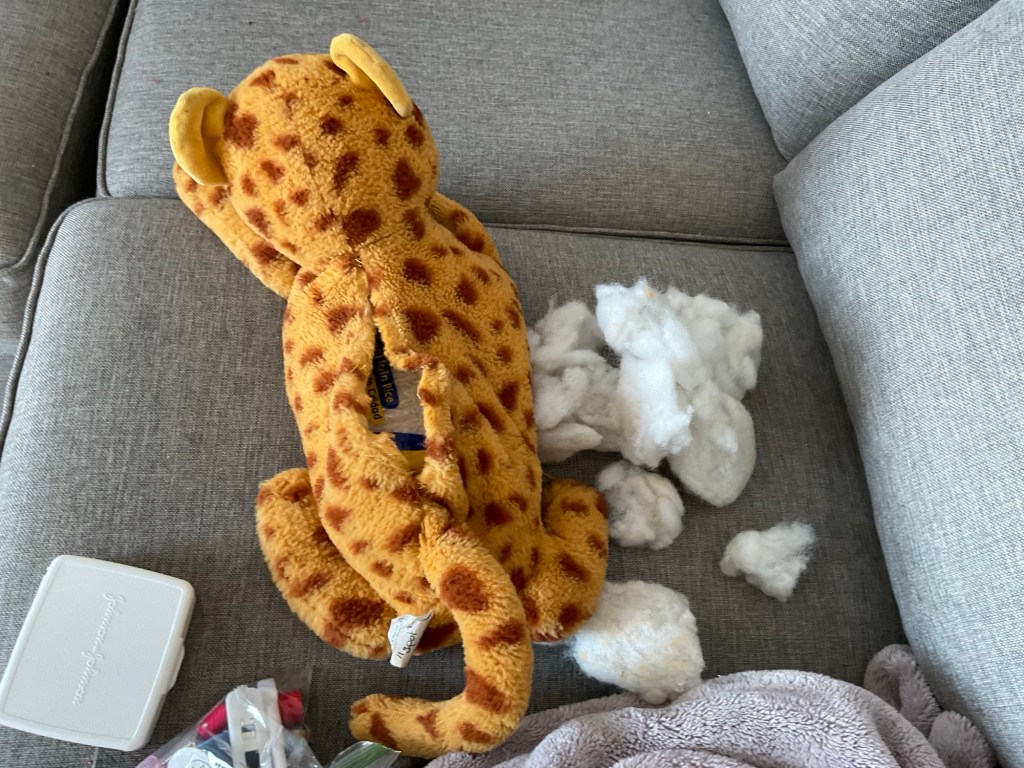
Step 1: Choose a stuffed animal. This cheetah that my son never plays with would do just fine.

Step 2: Use a seam ripper to open the back side of the toy. If you don’t have one of these, scissors will also work. Barring both of those: teeth.

Step 3: Remove stuffing and replace with a sealed bag of dry goods. I used a 2 pound bag of rice from my pantry.
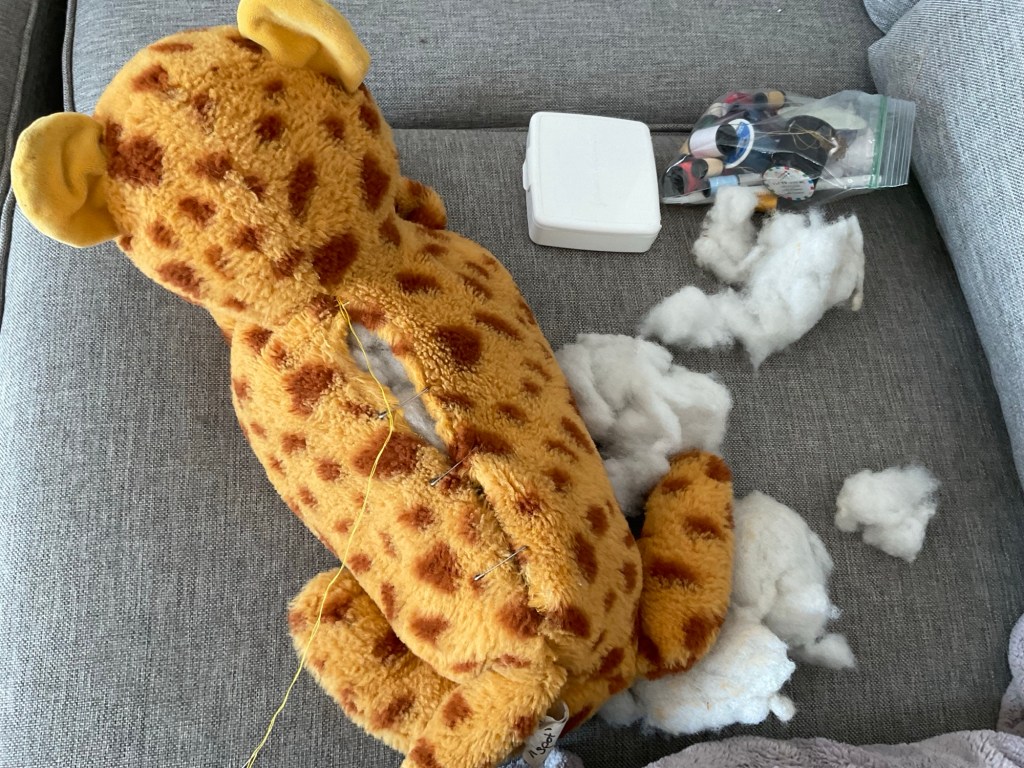
Step 4: Restuff and blind stitch the toy back together. Here’s a quick tutorial on how to blind stitch– it’s fairly straightforward.
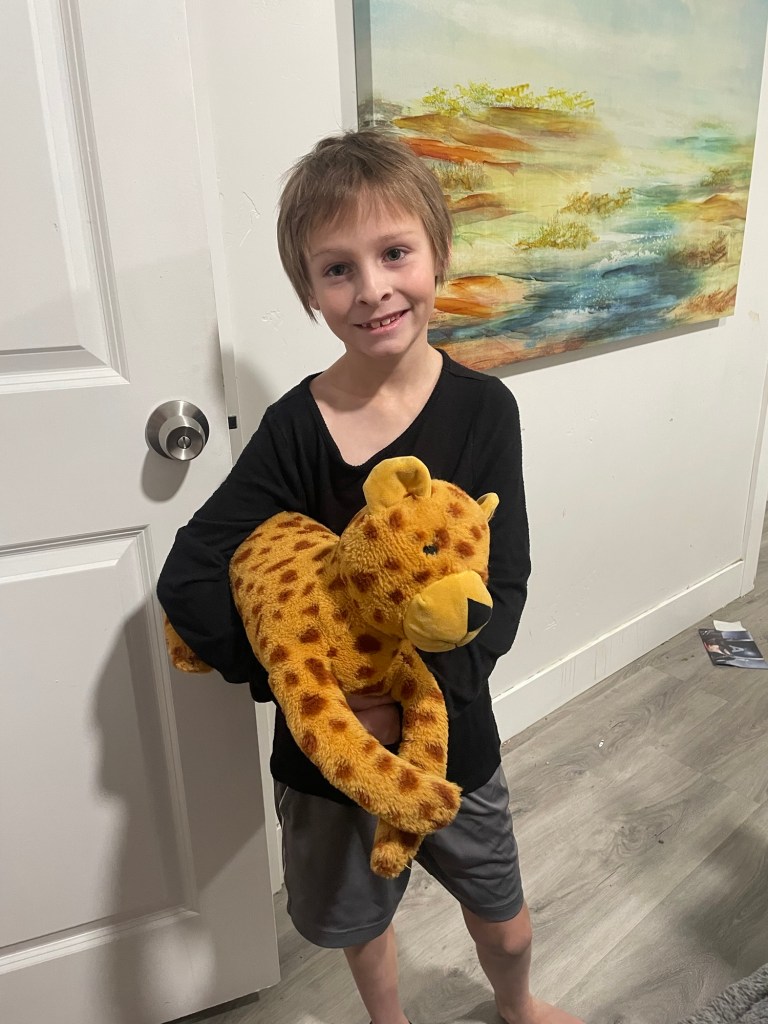
Step 5: Gift the new weighted stuffy to a happy child and hope he will sleep better tonight!
Enjoy crafting!
